Continuing my glitching experiments I have got EMFI attacks working (part 1), I wanted to improve them. The next step is to identify the best place to perform these attacks by mapping what happens when you glitch different areas of the chip.
The code and supplementary resources for this blog can be found in my git here. in the “/plotter” folder.
To start this experiment you will need an X/Y gantry to move the glitching device. I found this cheap plotter on aliexpress:

A couple of weeks and what arrived was:
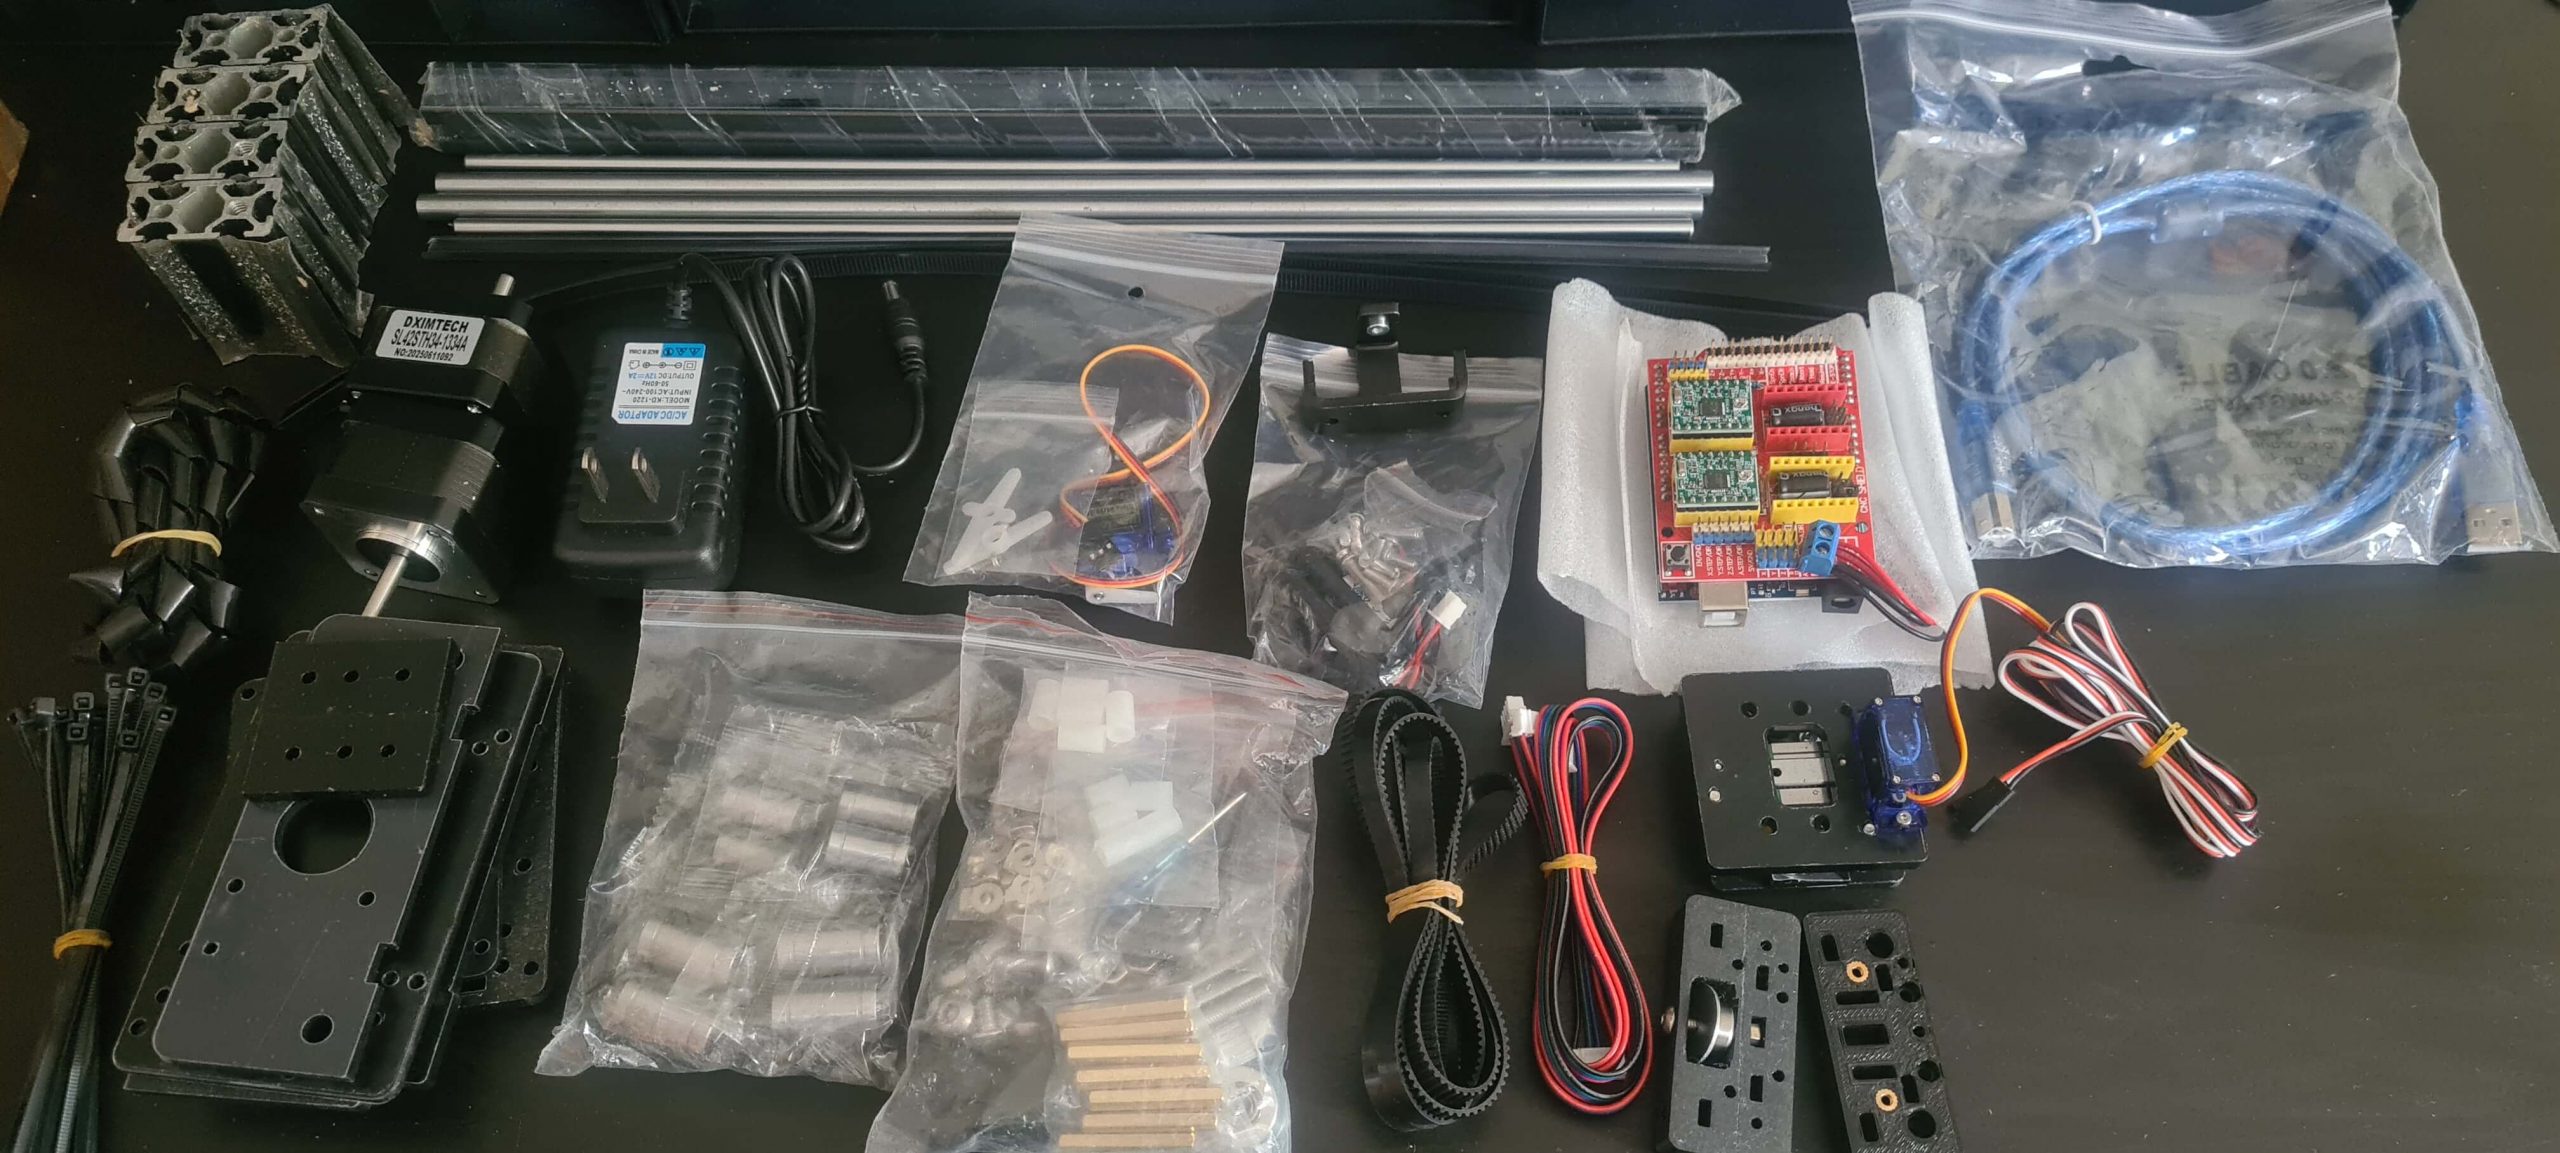
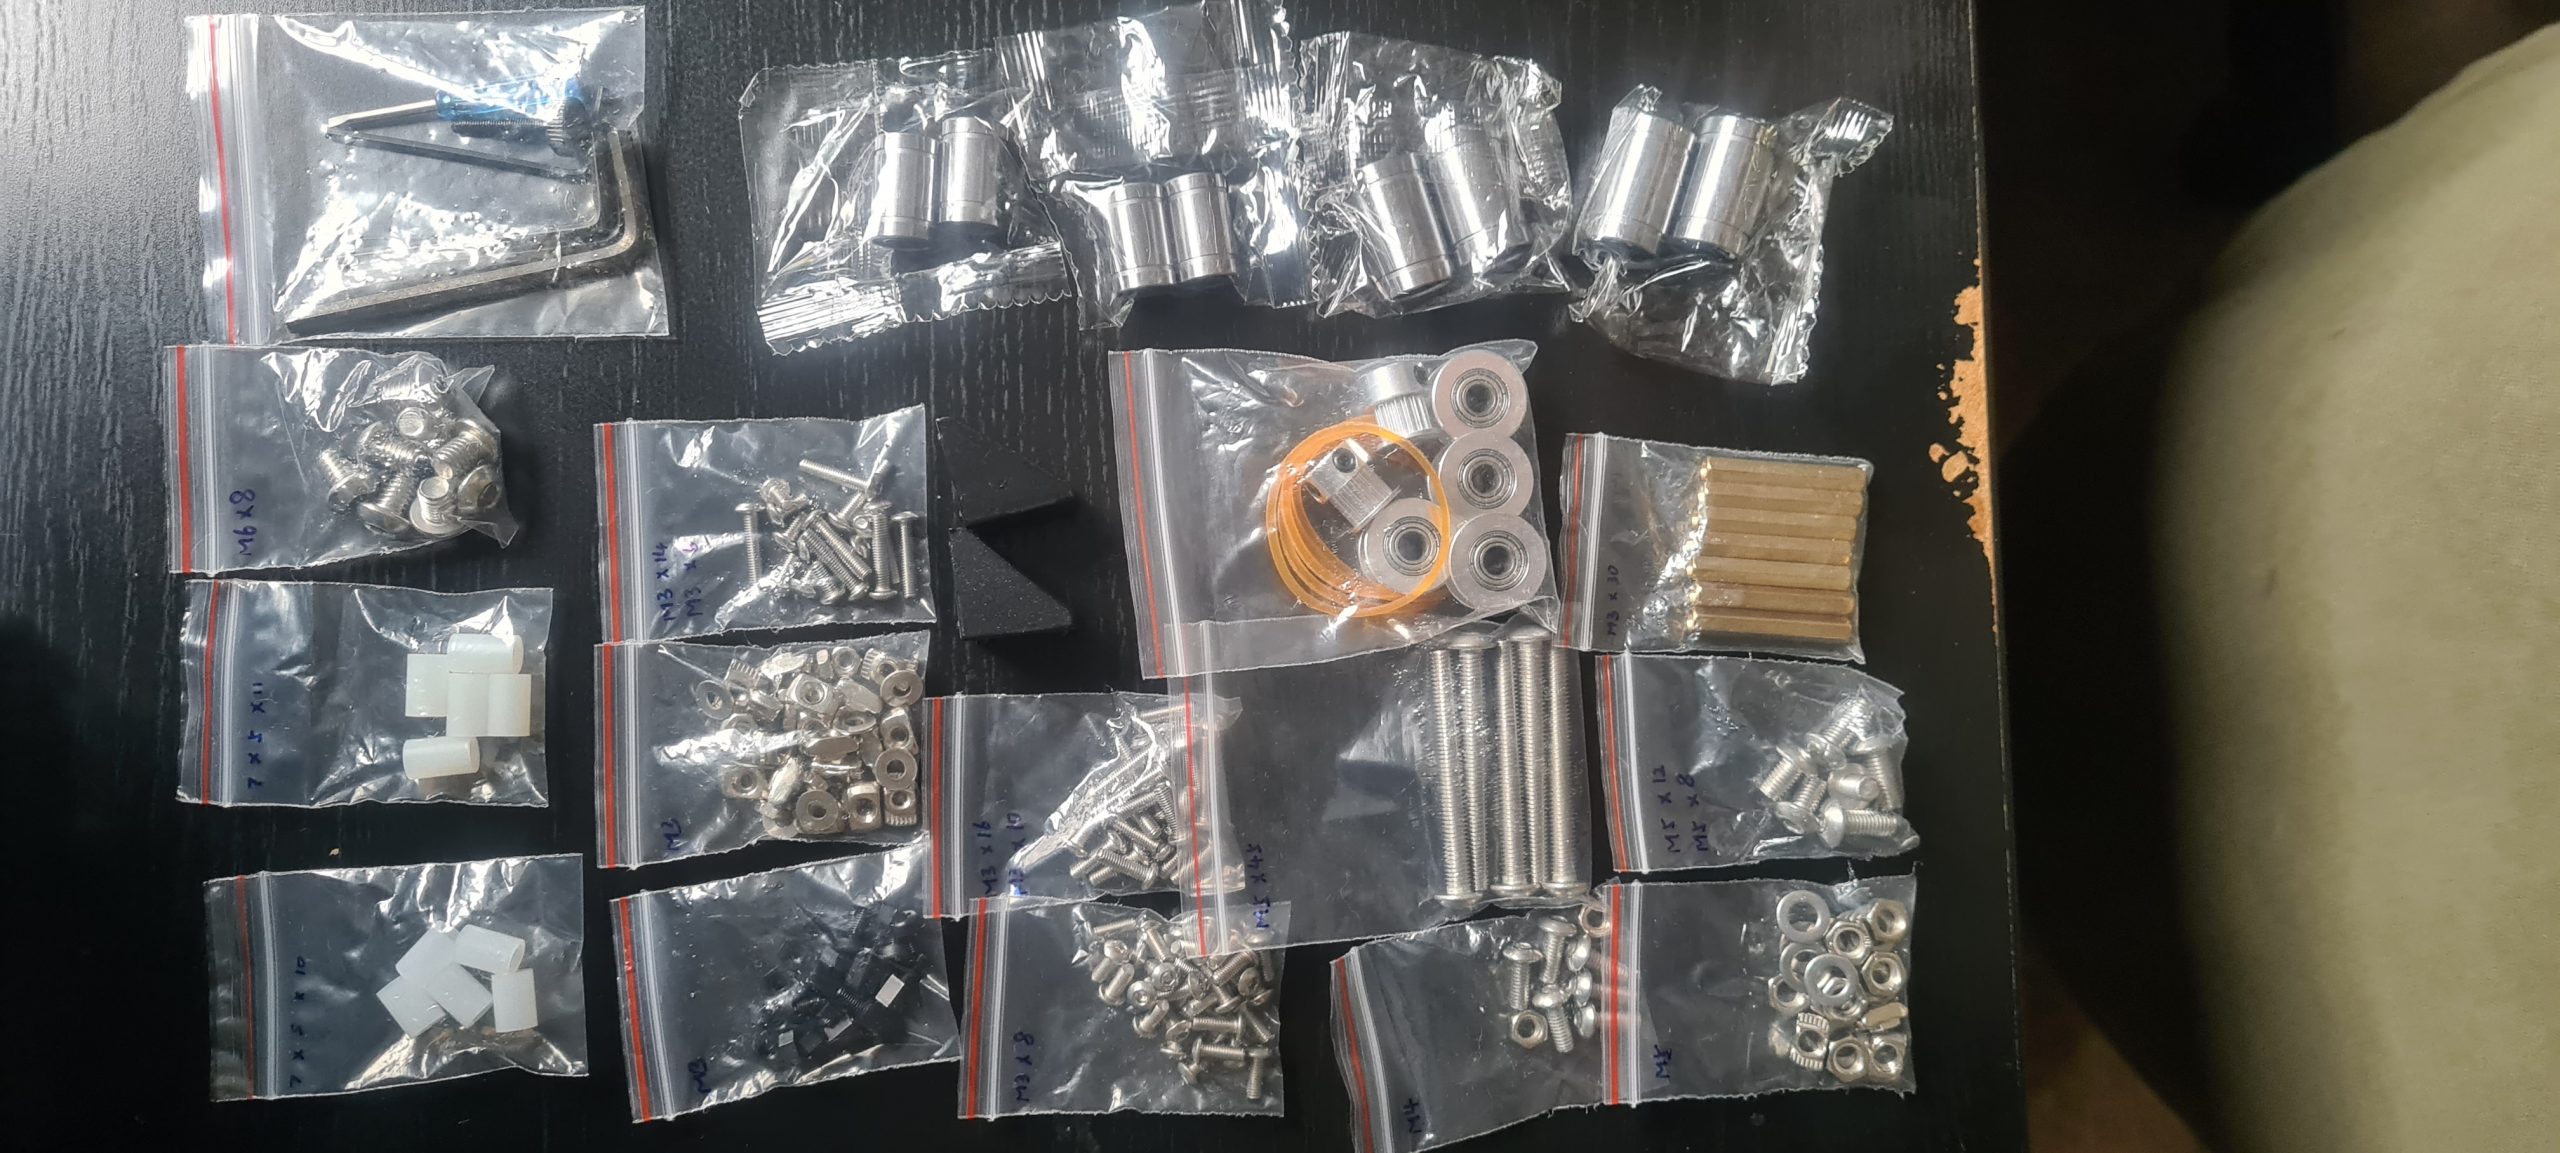
No instructions or anything, I asked the seller but they were silent!
I eventually found the following two sites:
generativehut & hannahilea
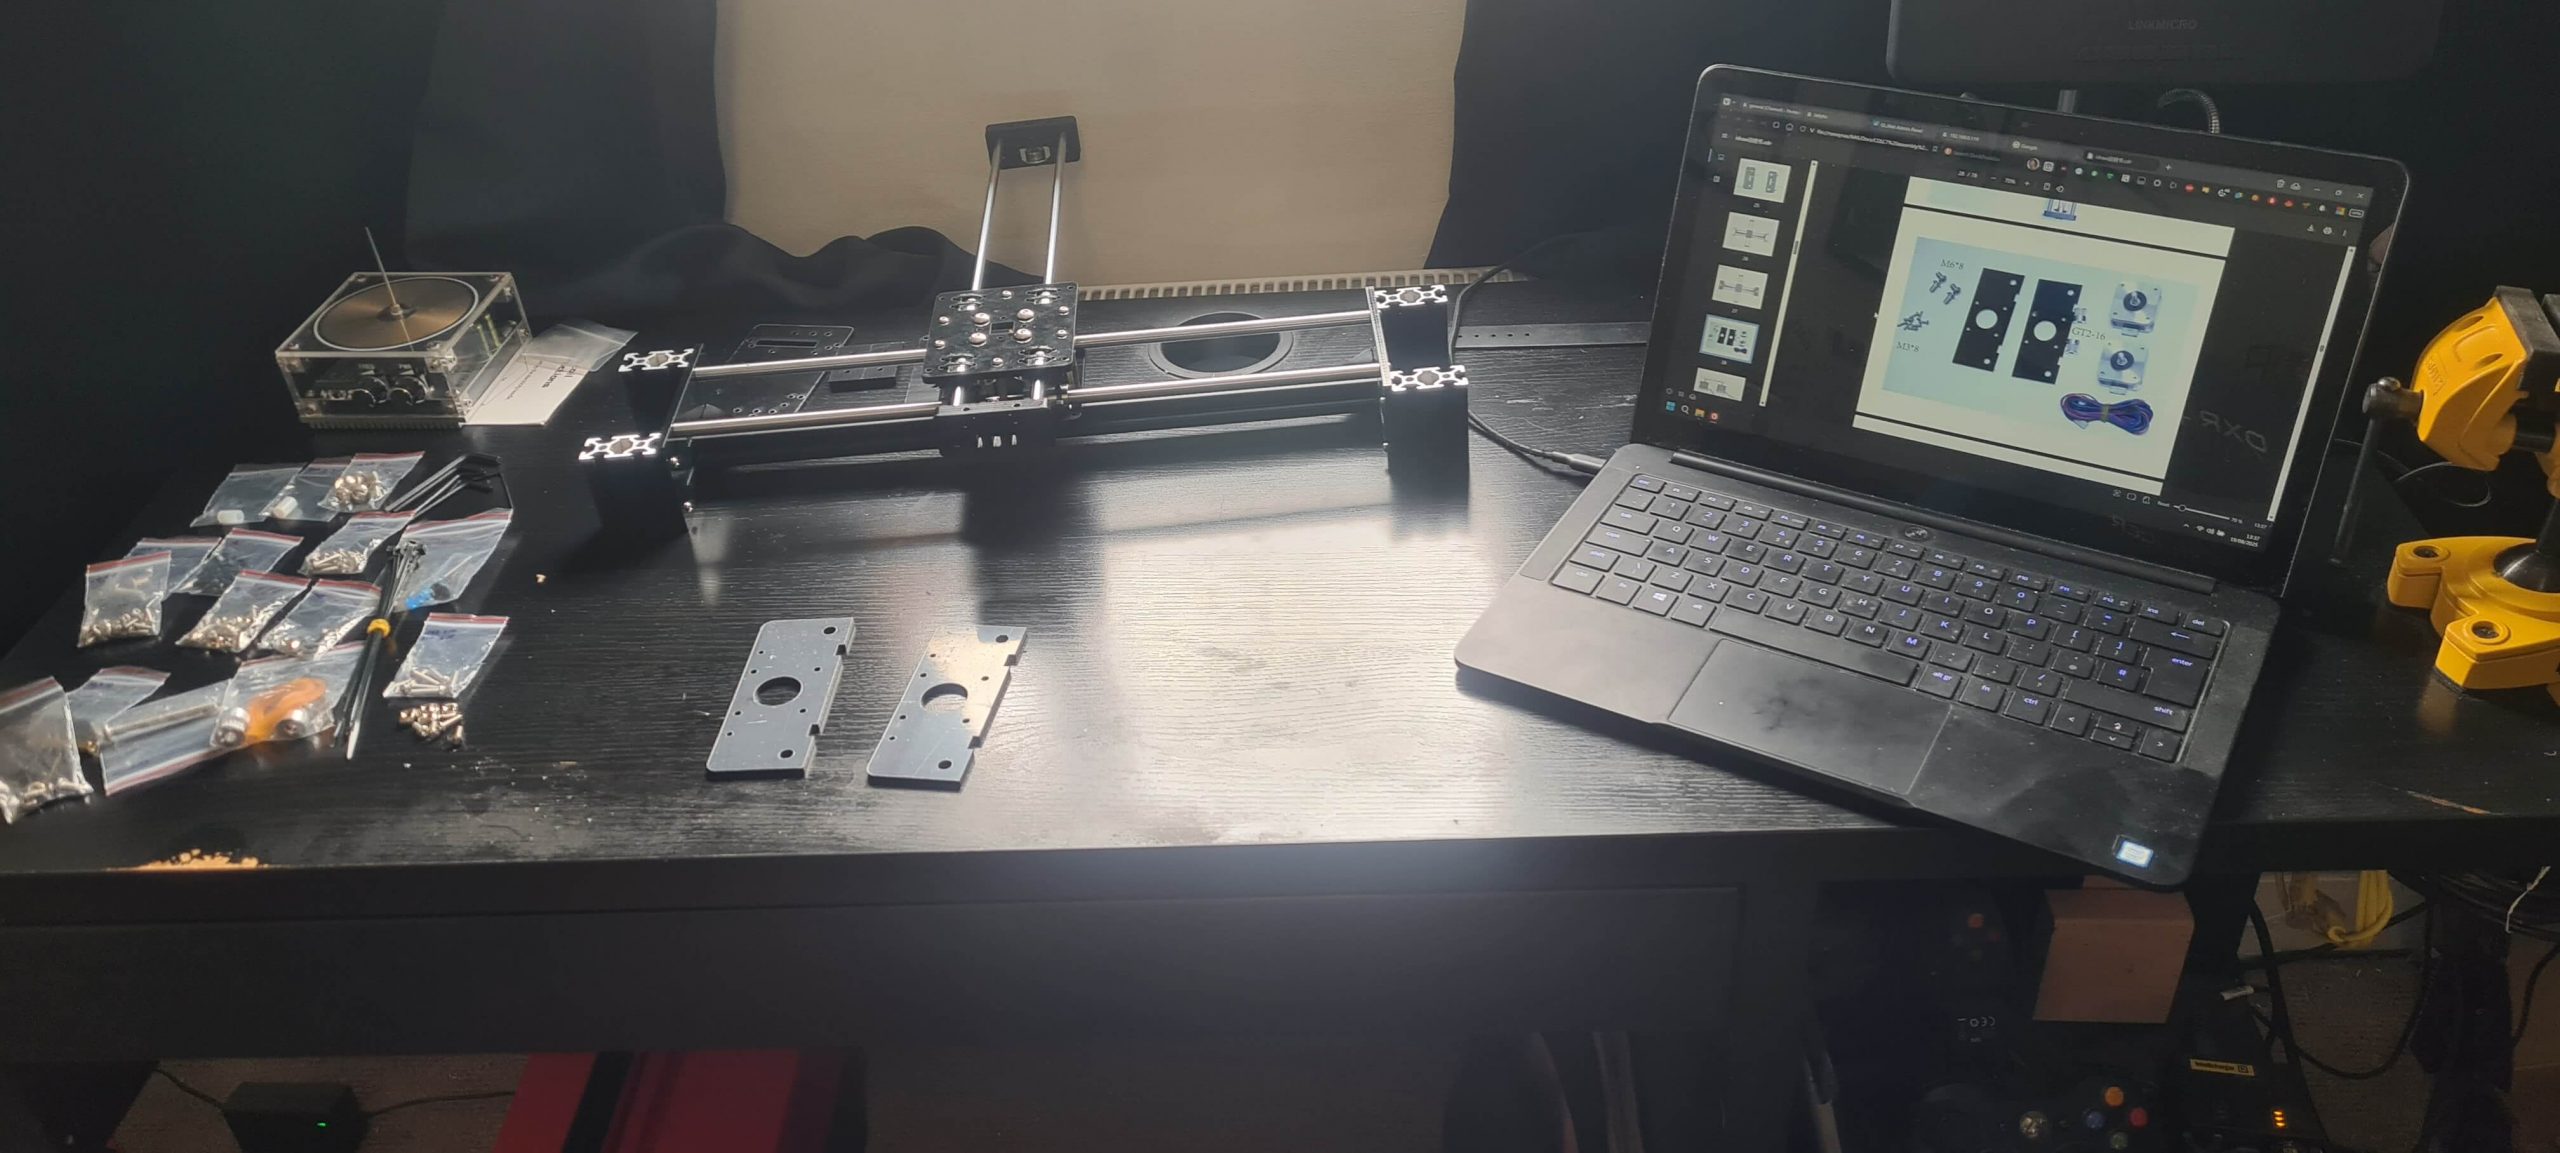
These has instructions which were similar but not quite perfect. Using both of those and the pdf in the zip file on one of those sites (which I have backed up in the git repo as “LY plotter.zip”) I managed to get the thing built and running:
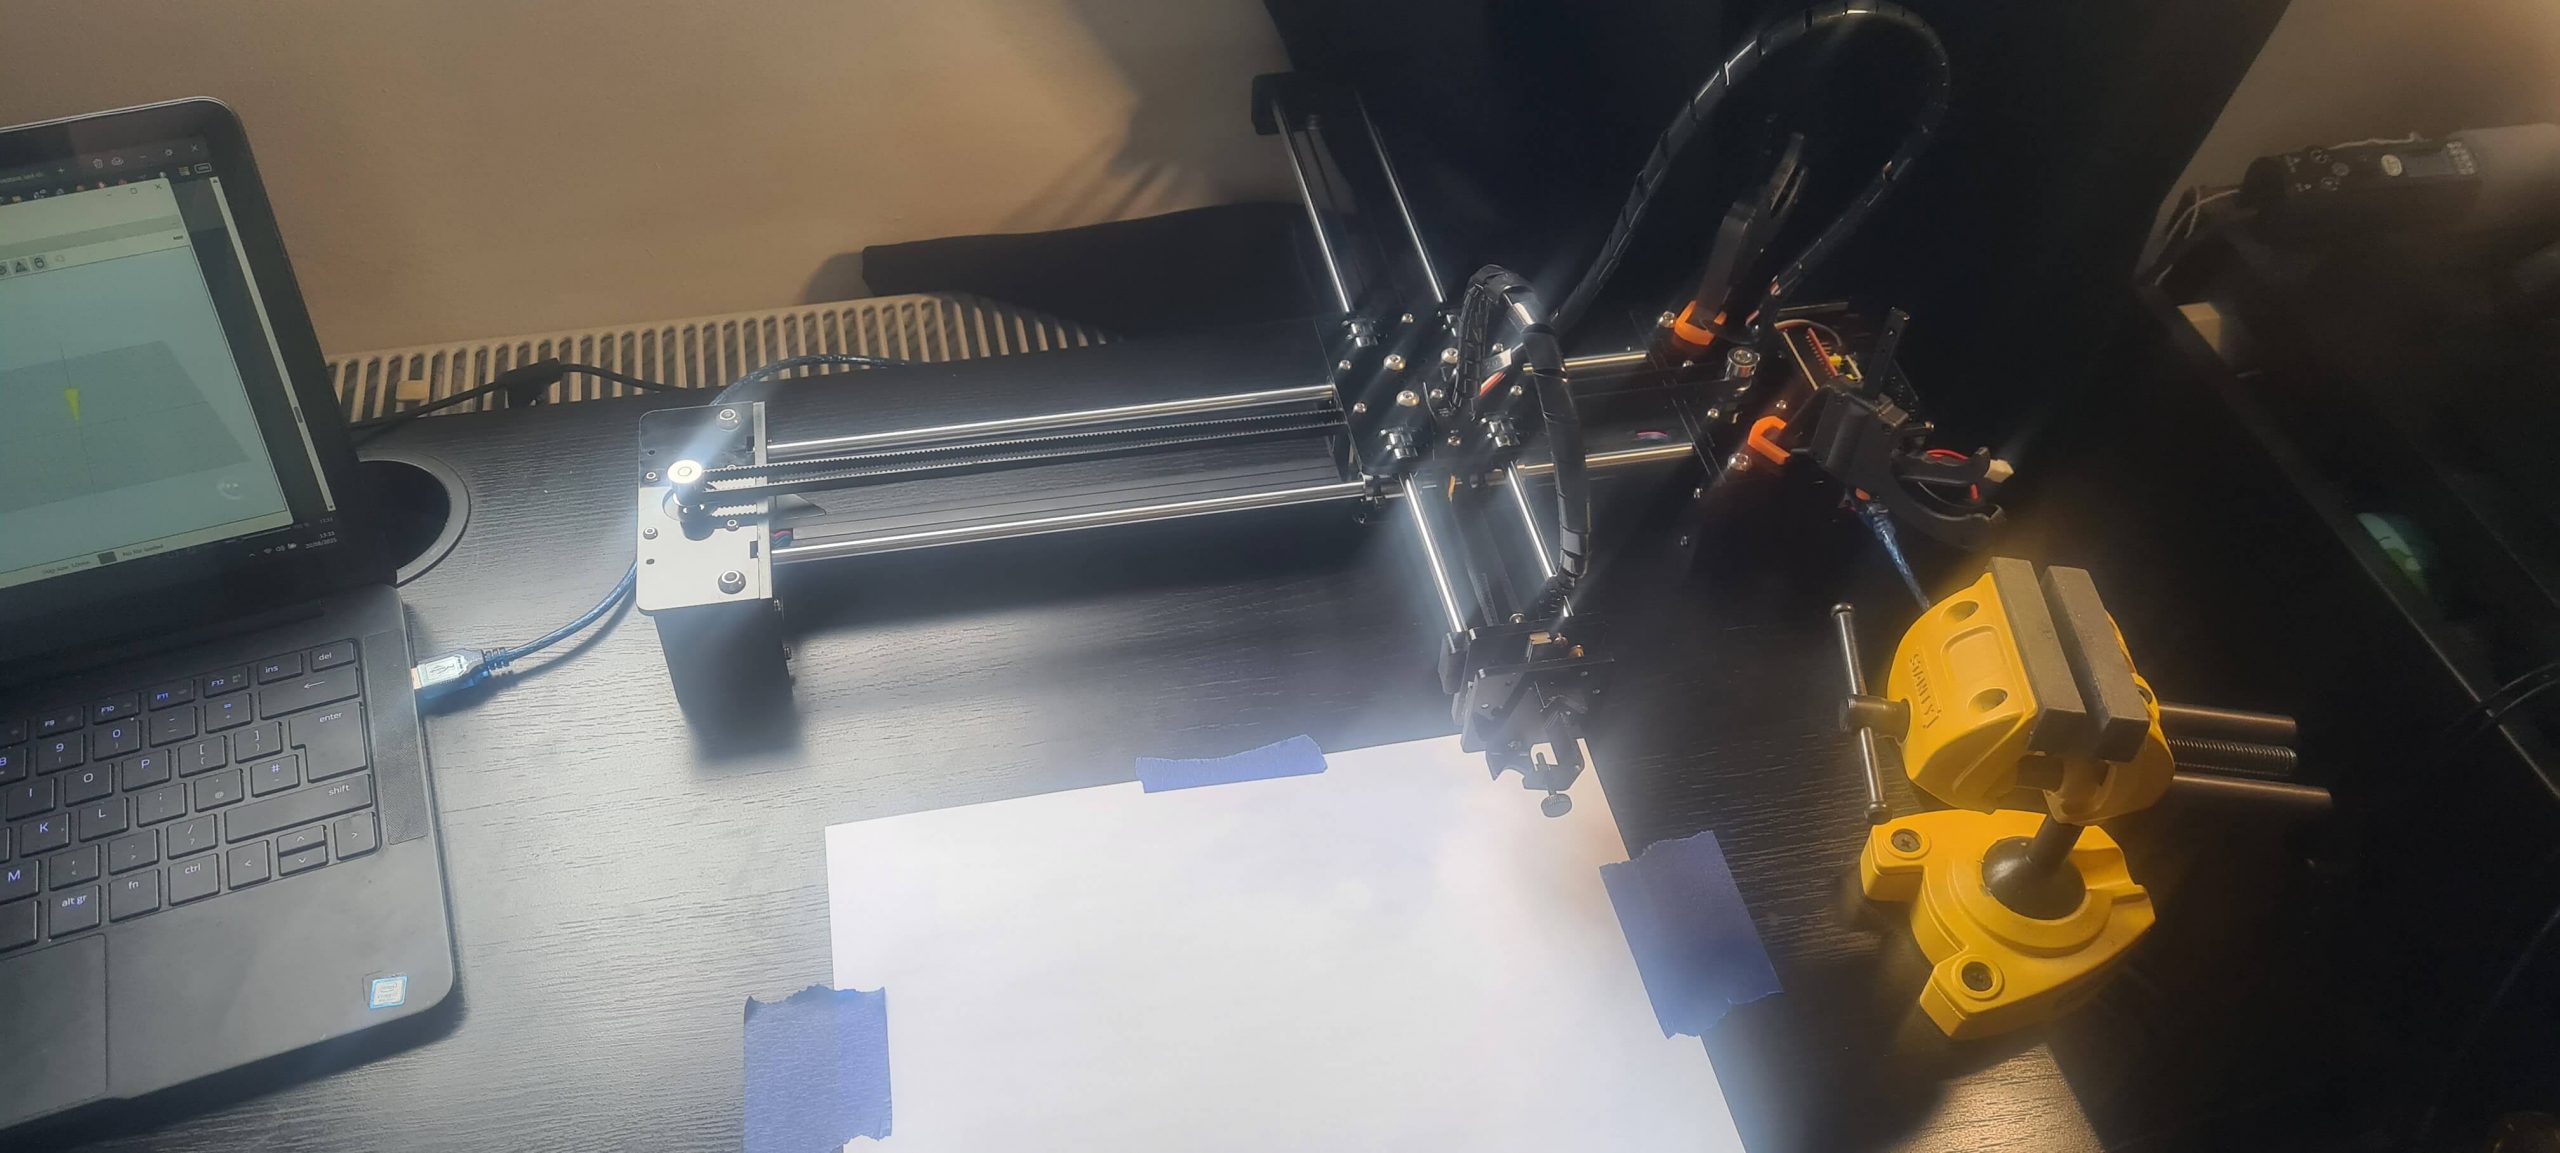
I tested it with LaserGRBL on Windows to make it draw some pictures with a pen to confirm it was working as intended. It was! Later a “stepper motor driver” broke, turns out you can buy these super cheap from amazon. This machine’s brains are an arduino with a CNC shield attached. Most likely both clones, but I have no idea of what to look for to check that and dont really care, as long as it works!
I then recreated my origional EMP holder to fit both the plotter and the stand. This can be downloaded from thingiverse.
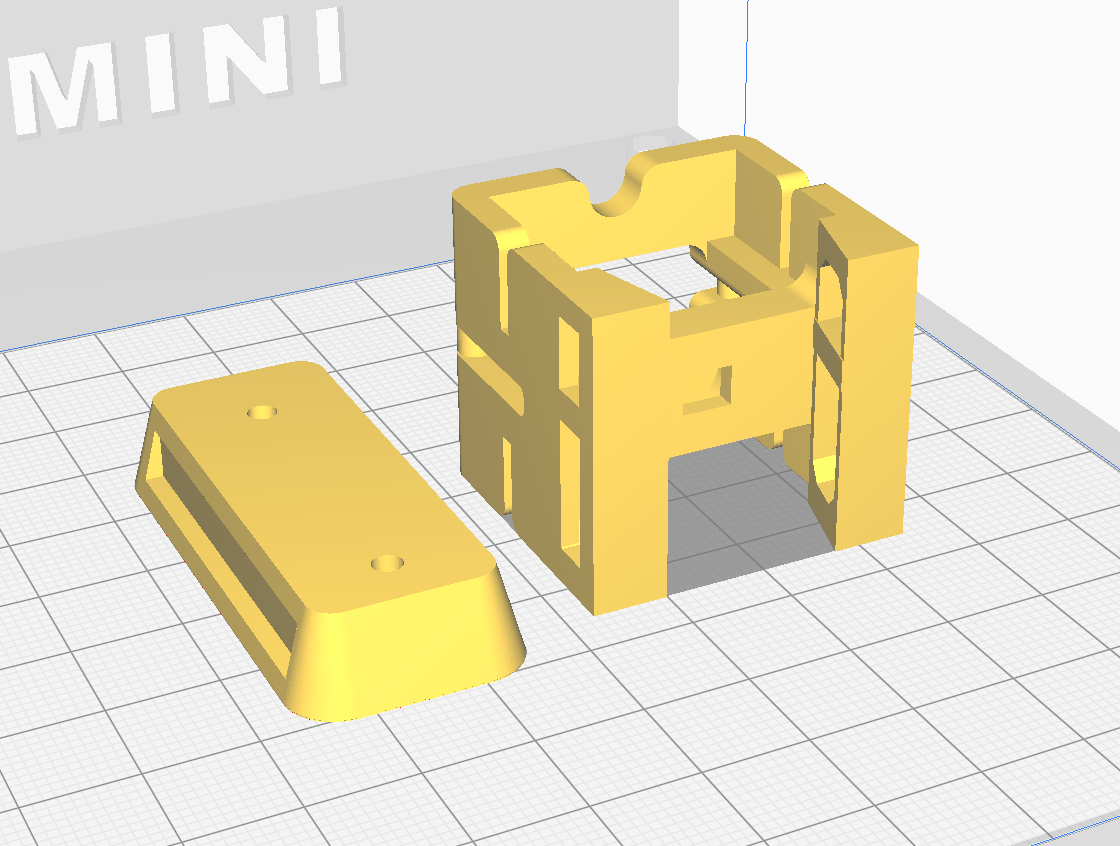
The backplate screws to the plotter. With some M5 nuts and bolts the holder slides over the backplate and is held in place with the bolts:

At this point I wanted to see if I could move the plotter from linux and python as being able to control this programmatically was paramount to this working. It turns out the way they had created this machine it used stepper motors to move X and Y but a servo to move Z which used the G-Code usually used to control the spindle speed to change the height. The simple program “plotter_gui.py” looked as follows:

It worked a treat! apart from “set home” which worked for the duration of the program, but I couldn’t get it to store the current location as 0,0 on the plotter, so every time I closed the program or restarted the plotter it got reset (this was never solved and didn’t cause much of an issue). The next program created was “plotterStepperMaker.py”:

With this program you move the plotter to one corner (think of it in 3d space) click “Set A” then move to the opposite corner and “Set B”. Then set the increment values you want to glitching to occur between and “Save Step Values”. It is now ready to save the json file which contains this configuration.
I also gave it some command line options to:
- Return a count of the amount of steps for a given config file
- Return the closest position for given co-ordinates
- Return the co-ordinates for given step
This looked like:
$> python3 plotterStepperMaker.py -f plotter_test.json -count
18

$> python3 plotterStepperMaker.py -f plotter_test.json -xyz '{"x":0.0,"y":0.0,"z":0.0}'
1

$> python3 plotterStepperMaker.py -f plotter_test.json -n 1
{"x": 0.0, "y": 0.0, "z": 0.0}

$> python3 plotterStepperMaker.py -f plotter_test.json -n 2
{"x": 1.0, "y": 0.0, "z": 0.0}

$> python3 plotterStepperMaker.py -f plotter_test.json -n 3
{"x": 2.0, "y": 0.0, "z": 0.0}

$> python3 plotterStepperMaker.py -f plotter_test.json -n 4
{"x": 0.0, "y": 1.0, "z": 0.0}

$> python3 plotterStepperMaker.py -f plotter_test.json -n 5
{"x": 1.0, "y": 1.0, "z": 0.0}

$> python3 plotterStepperMaker.py -f plotter_test.json -n 6
{"x": 2.0, "y": 1.0, "z": 0.0}

$> python3 plotterStepperMaker.py -f plotter_test.json -n 7
{"x": 0.0, "y": 2.0, "z": 0.0}

$> python3 plotterStepperMaker.py -f plotter_test.json -n 8
{"x": 1.0, "y": 2.0, "z": 0.0}

$> python3 plotterStepperMaker.py -f plotter_test.json -n 9
{"x": 2.0, "y": 2.0, "z": 0.0}

$> python3 plotterStepperMaker.py -f plotter_test.json -n 10
{"x": 0.0, "y": 0.0, "z": 40.0}
It was finally time to do some glitching. As I’m sure everyone expected I decided to test this against the trusty ATTiny85. The setup looked like this:
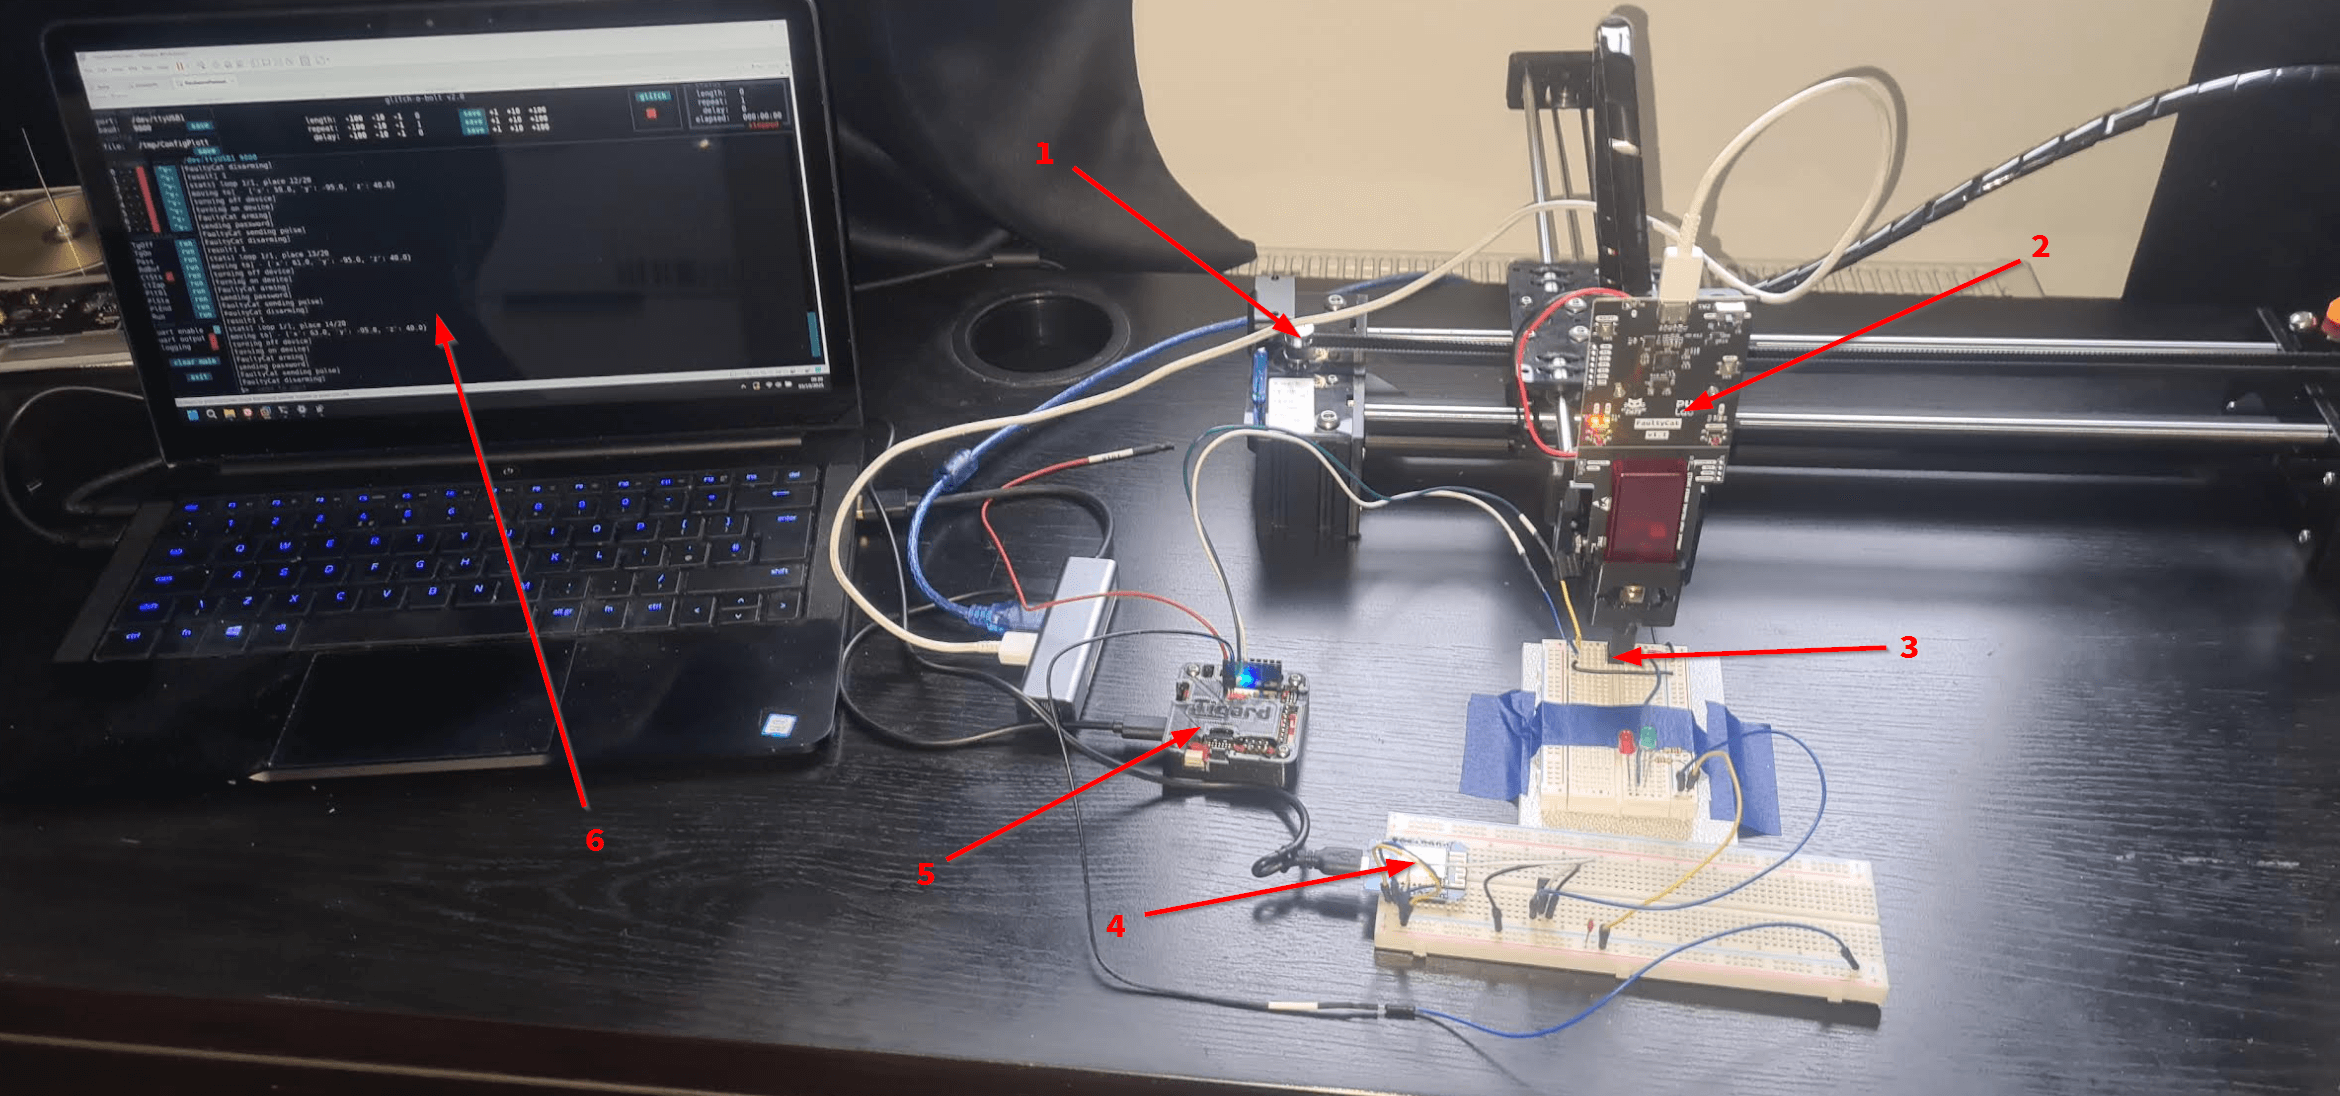
- Plotter
- EMFI glitching tool
- ATTiny85 chip being tested
- ESP8266 to power the device being tested
- Tigard to read/write UART to the device
- Laptop doing all the computing
If you want to perform this cheaper I’d recommend getting a “PicoEMP“. The last time I saw these for sale they were around $60. Instead of the Tigard there are super cheap USB->UART interfaces for a couple of dollars on aliexpress or amazon.
I programmed the ESP8266 so it connects to my wifi and has 2 endpoints “/on” and “/off”. These turn the power on and off, this is so each time we glitch the device it is reset into a known state.
Since we know how the target reacts we can use this to determine each plot point. If it responds “incorrect password” we know nothing happened, if it responds with the startup message we know the glitch restarted the device. Anything else and we can conclude that it caused the device to glitch or do something weird (the goal).
I created a glitch-o-bolt config file / script “ConfigPlotterGen.py”.
Which works in the following way:
- Connect to the plotter and get the details from the json file and amount of loops we set to glitch
- Move the plotter to the next step
- Restart the device
- Send a password and at the same time attempt a glitch
- Record the result, if there are more steps then go back up to “move the device”
- Log all the results to a file
- Print the results to the screen
- Generate both an ASCII and PNG map
- Calculate the best place to glitch to add to the map
The first time I got it working it looks like:
[stats] loop 3/3, place 19/20
[moving to] - {'x': 63.0, 'y': -93.0, 'z': 40.0}
[turning off device]
[turning on device]
System ready
Generated password: jZ2Q8sYJ
[FaultyCat arming]
[FaultyCat sending pulse]
[sending password]
System ready
Generated password: jZ2Q8sYJ
[FaultyCat disarming]
[result] 1
[stats] loop 3/3, place 20/20
[moving to] - {'x': 65.0, 'y': -93.0, 'z': 40.0}
[turning off device]
[turning on device]
System ready
Generated password: jZ2Q8sYJ
[FaultyCat arming]
[sending password]
[FaultyCat sending pulse]
System ready
Generated password: jZ2Q8sYJ
[FaultyCat disarming]
[result] 1
[end time] 03/10/2025 10:51
[time elapsed] 00:06:23
[results saved] /tmp/glitching_results.csv
[step 1] nothing=3 crash=0 glitch=0 x=57.0 y=-99.0 z=40.0
[step 2] nothing=0 crash=0 glitch=3 x=59.0 y=-99.0 z=40.0
[step 3] nothing=0 crash=0 glitch=3 x=61.0 y=-99.0 z=40.0
[step 4] nothing=0 crash=3 glitch=0 x=63.0 y=-99.0 z=40.0
[step 5] nothing=0 crash=3 glitch=0 x=65.0 y=-99.0 z=40.0
[step 6] nothing=1 crash=0 glitch=2 x=57.0 y=-97.0 z=40.0
[step 7] nothing=0 crash=0 glitch=3 x=59.0 y=-97.0 z=40.0
[step 8] nothing=0 crash=3 glitch=0 x=61.0 y=-97.0 z=40.0
[step 9] nothing=0 crash=3 glitch=0 x=63.0 y=-97.0 z=40.0
[step 10] nothing=0 crash=3 glitch=0 x=65.0 y=-97.0 z=40.0
[step 11] nothing=0 crash=1 glitch=2 x=57.0 y=-95.0 z=40.0
[step 12] nothing=0 crash=2 glitch=1 x=59.0 y=-95.0 z=40.0
[step 13] nothing=0 crash=2 glitch=1 x=61.0 y=-95.0 z=40.0
[step 14] nothing=0 crash=3 glitch=0 x=63.0 y=-95.0 z=40.0
[step 15] nothing=0 crash=3 glitch=0 x=65.0 y=-95.0 z=40.0
[step 16] nothing=0 crash=0 glitch=3 x=57.0 y=-93.0 z=40.0
[step 17] nothing=0 crash=3 glitch=0 x=59.0 y=-93.0 z=40.0
[step 18] nothing=0 crash=3 glitch=0 x=61.0 y=-93.0 z=40.0
[step 19] nothing=0 crash=3 glitch=0 x=63.0 y=-93.0 z=40.0
[step 20] nothing=0 crash=3 glitch=0 x=65.0 y=-93.0 z=40.0
[ASCII map]
3----
211--
23---
.33--
[best glitch] position 7 glitches=3 x=59.0 y=-97.0 z=40.0 score=60
[results map saved] /tmp/glitching_results.png
Which generated:

YEY!!!
That working so well I increased the resolution (smaller steps). Heres a video of it in action:
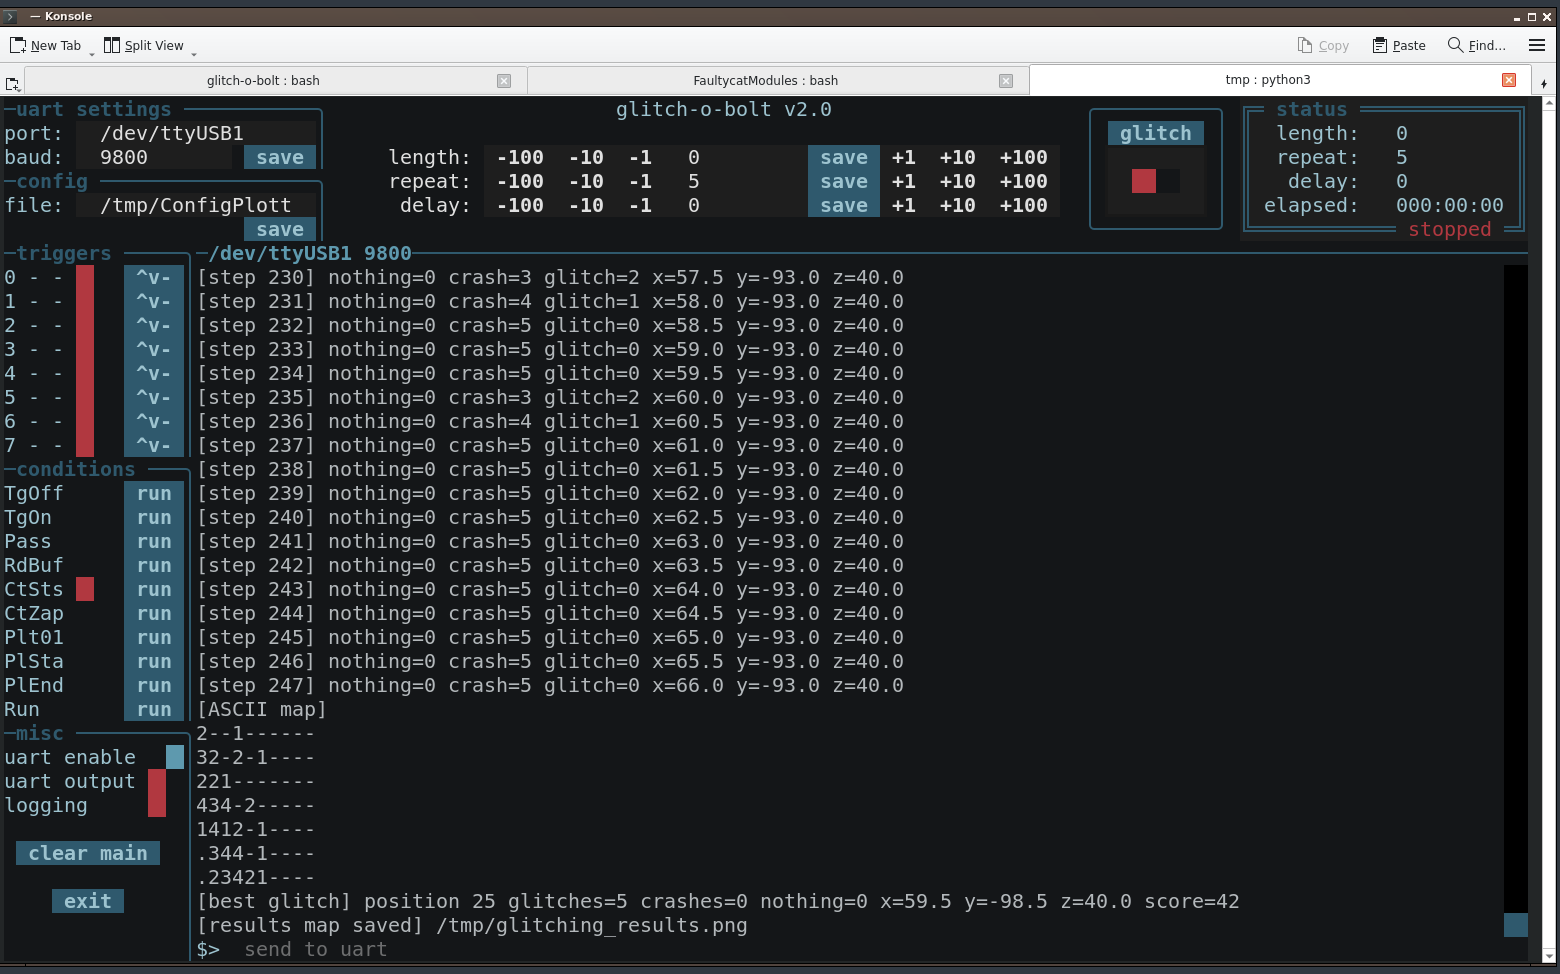
Which produced the following:
[stats] loop 5/5, place 246/247
[moving to] - {'x': 65.5, 'y': -93.0, 'z': 40.0}
[turning off device]
[turning on device]
System ready
Generated password: eAgOI62U
[FaultyCat arming]
[sending password]
[FaultyCat sending pulse]
System ready
Generated password: eAgOI62U
[FaultyCat disarming]
[result] 1
[stats] loop 5/5, place 247/247
[moving to] - {'x': 66.0, 'y': -93.0, 'z': 40.0}
[turning off device]
[turning on device]
System ready
Generated password: eAgOI62U
[FaultyCat arming]
[sending password]
[FaultyCat sending pulse]
System ready
Generated password: eAgOI62U
[FaultyCat disarming]
[result] 1
[end time] 03/10/2025 22:17
[time elapsed] 02:11:56
[results saved] /tmp/glitching_results.csv
[step 1] nothing=5 crash=0 glitch=0 x=57.0 y=-99.0 z=40.0
[step 2] nothing=5 crash=0 glitch=0 x=57.5 y=-99.0 z=40.0
[step 3] nothing=5 crash=0 glitch=0 x=58.0 y=-99.0 z=40.0
[step 4] nothing=3 crash=0 glitch=2 x=58.5 y=-99.0 z=40.0
[step 5] nothing=1 crash=1 glitch=3 x=59.0 y=-99.0 z=40.0
[step 6] nothing=0 crash=2 glitch=3 x=59.5 y=-99.0 z=40.0
[step 7] nothing=0 crash=2 glitch=3 x=60.0 y=-99.0 z=40.0
-snip-
[step 245] nothing=0 crash=5 glitch=0 x=65.0 y=-93.0 z=40.0
[step 246] nothing=0 crash=5 glitch=0 x=65.5 y=-93.0 z=40.0
[step 247] nothing=0 crash=5 glitch=0 x=66.0 y=-93.0 z=40.0
[ASCII map]
2--1------
32-2-1----
221-------
434-2-----
1412-1----
.344-1----
.23421----
[best glitch] position 25 glitches=5 crashes=0 nothing=0 x=59.5 y=-98.5 z=40.0 score=42
[results map saved] /tmp/glitching_results.png
Once it finished running it looked like:
Producing the following map:

With this we now know the best place to glitch this chip. For a better visual representation I overlaid it on an ATTiny85:

Now that this is all created it’s a super simple 2 step process.
- Create the configuration file
- Start the glitching to create the map
$> python plotterStepperMaker.py -f plotter_test.json

$> python3 /opt/glitch-o-bolt/glitch-o-bolt.py -c /tmp/ConfigPlotterGen.py
The map generator I’ve created only does 2D, everything is there for it to easily do 3D, I’ll leave this as an exercise for the reader.
I hope this helps someone. If I’ve missed any information or you want me to go more in-depth with any part of this then leave a comment.