Play guide
To start a new game the dial should be turned clockwise.
The LED under the dial will get brighter the closer you are to the goal.
Once you are in the goal segment turn the dial in the opposite direction.
The game starts with 5 segments and each time you get the correct position another is added, eg.


If you get one wrong it’s game over – the led will flash red your current score then green your highscore (unless your current score is the highest)
Build guide
Soldering this kit together is pretty simple, hopefully this will help.
Firstly make sure you have all the parts:

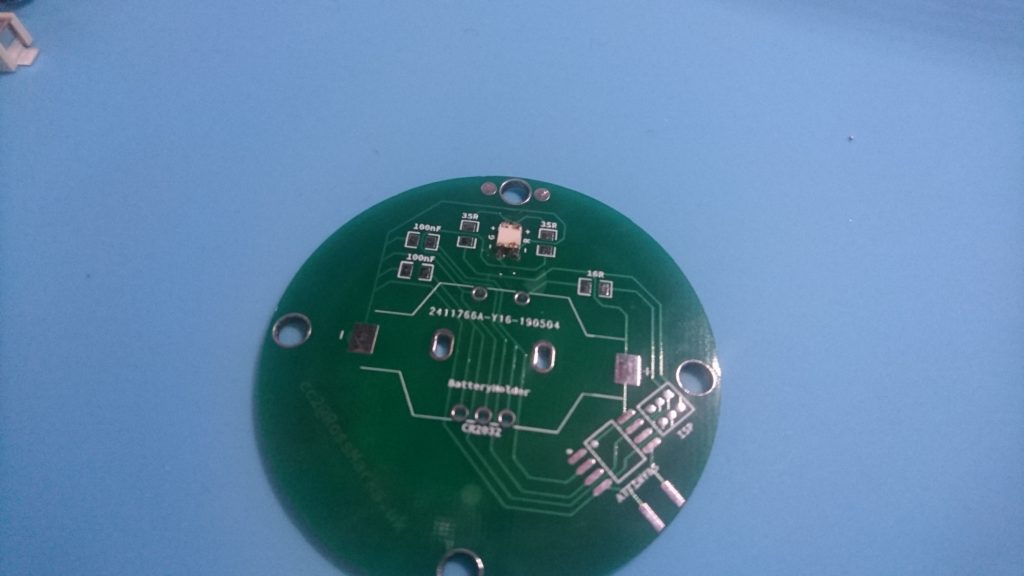
Obviously on the right you have the main PCB. Then from top to bottom on the left there is:
1 x Rotary encoder knob
1 x Rotary encoder
1 x Battery holder
1 x Pre-programmed Attiny85
2 x 100nF Capacitor
1 x 16R Resistor
2 x 35R Resistor
1 x Red/Green LED
Start by testing the LED with a multimeter. you should be able to light both the red and green LED’s separately. This should then be soldered on the PCB upside-down so the light shines through the PCB.
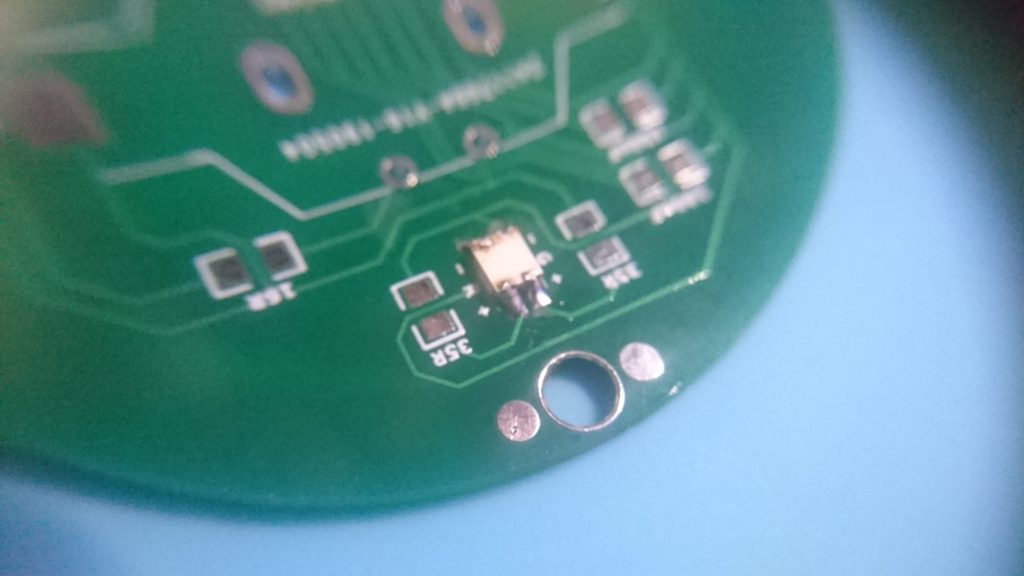
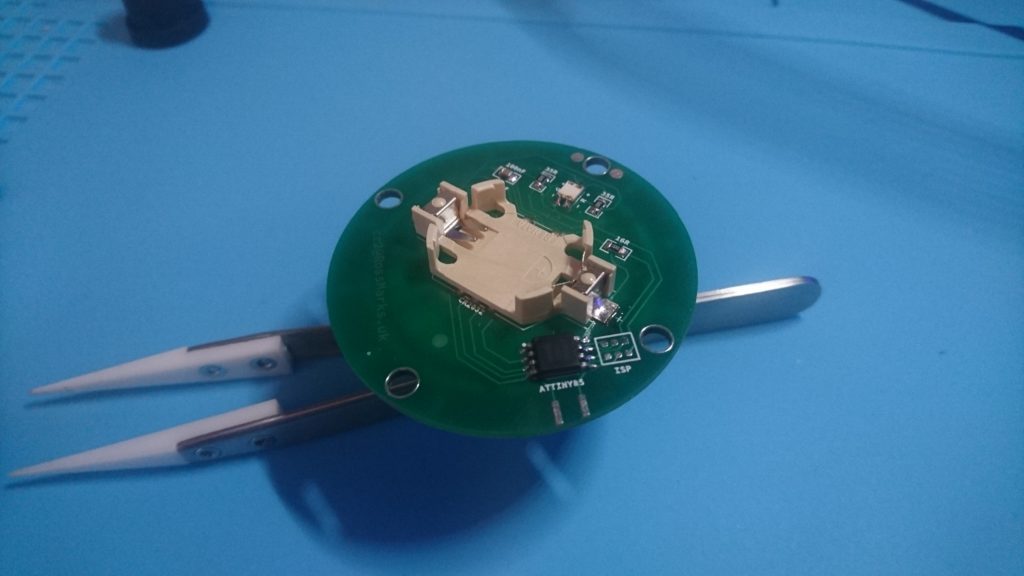
Next add the SMD components to the board (2 x Capacitors, 3 x Resistors and 1 x Attiny85)
Hand soldering surface mount components is pretty straight forward, put some solder onto one of the pads then with tweezers in one hand holding the component and soldering iron in the other melt the solder and push one side of component into the solder. Take the iron away and hold the component until the solder has hardened. Then simply solder the other side of the component.
It should look as follows:
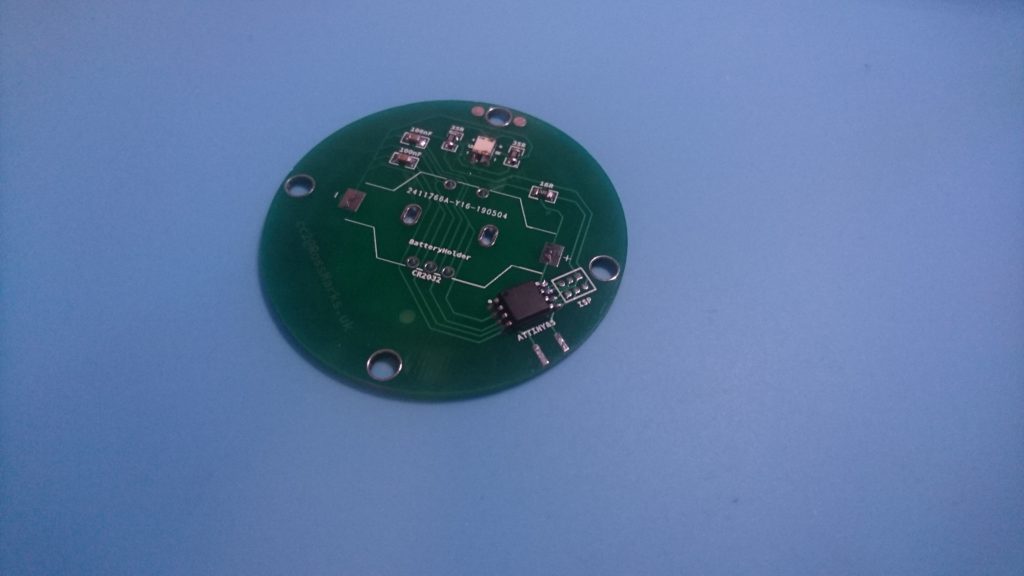
Next you will want to put the rotary encoder on the reverse side of the PCB through the corresponding holes. Don’t use much solder when adding it as you will want to snip the legs and clips as close to the PCB as possible to allow the battery holder to sit flat.
Now your going to want to solder on the battery holder. I recommend soldering both pads first then placing the battery holder in place and heating up the pads from the top of the component.
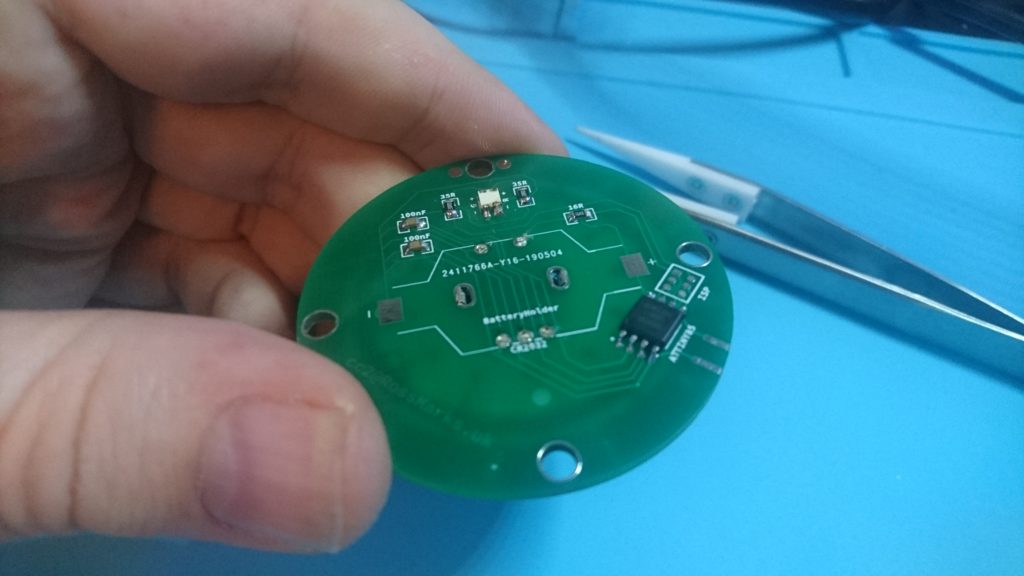
Lastly time to put the dial knob on, use a bit of superglue or hot glue to keep it from sliding around (or stuff with toilet paper as I did)
Thats all! pop in a CR2032 battery and it should be ready to play / hack.
Enjoy
